


Free Roofing Estimate Template
Prepare a roofing estimate that prices the roof measured at walkthrough, ties each line to a slope, a tear-off layer count, a roof system and underlayment, and a crew rate, and shows where deck damage or hidden flashing failure may move the total. Give the property owner and any insurer or lender a reviewable basis before a deposit, a signed contract, or a change order is requested.
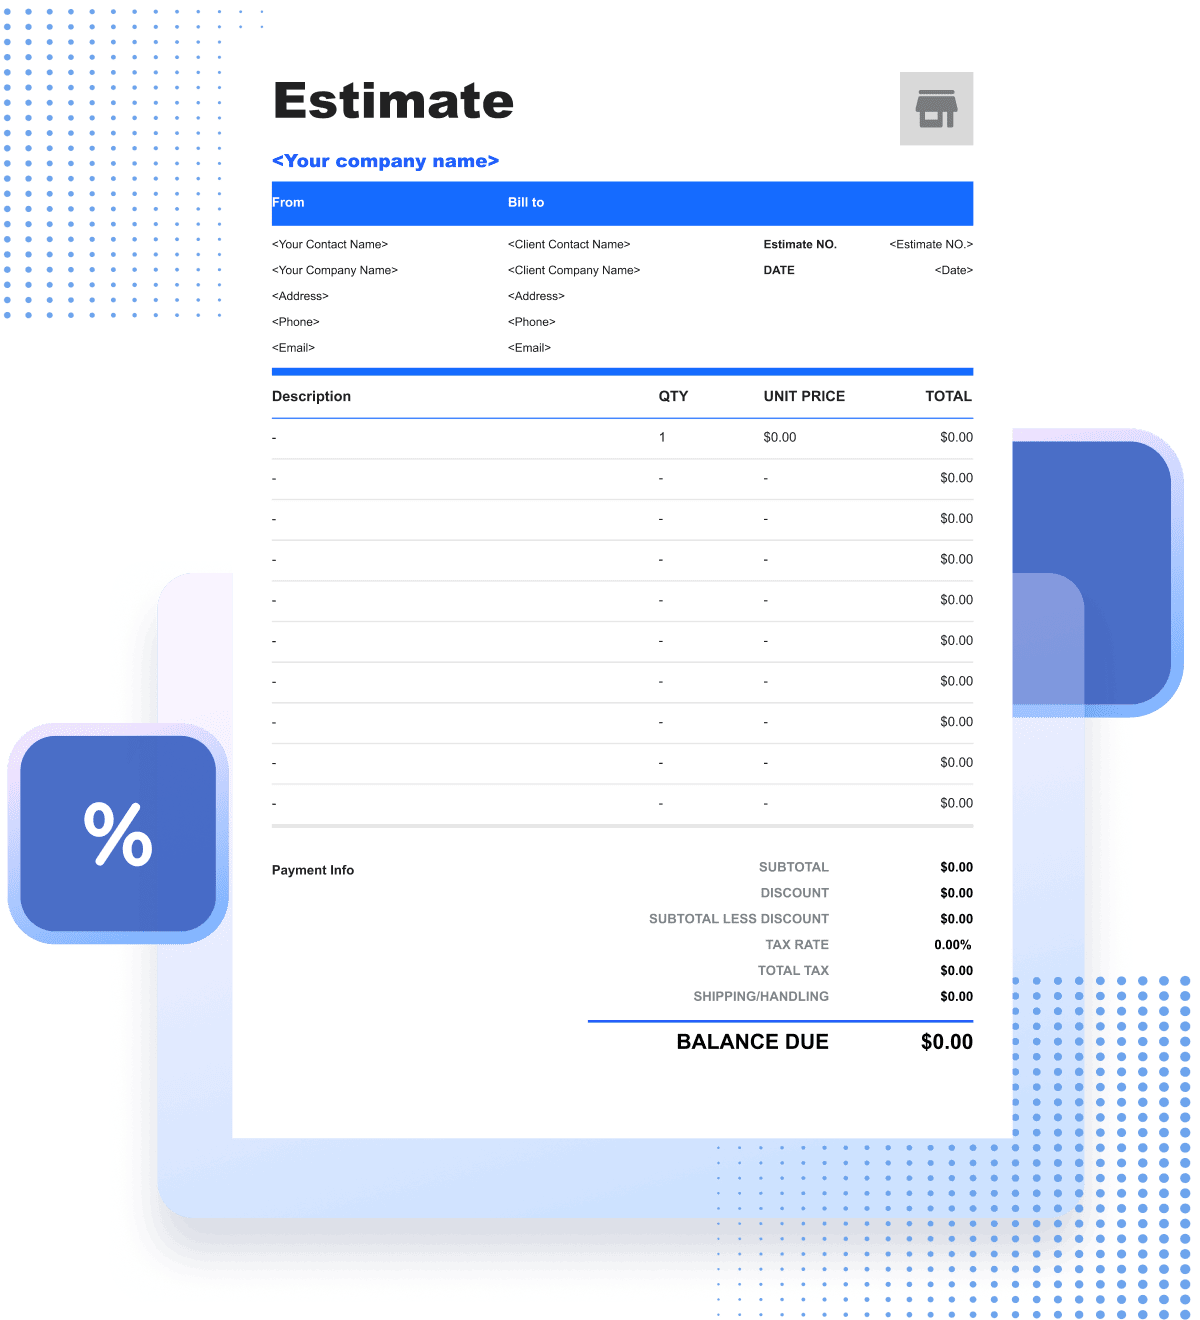
Roofing Estimate Template
A roof is priced from the deck up. Put the slope and the number of existing layers, the tear-off and deck repair, the underlayment and ice barrier, the roof covering and flashing, the ventilation, and the disposal and permit steps under one estimate number.
Nobody knows what the deck looks like until the old roof comes off. Itemizing the tear-off, the plywood allowance, and the covering separately means rotten sheathing can be priced by the sheet and approved the same day, instead of stopping the crew for a renegotiation.
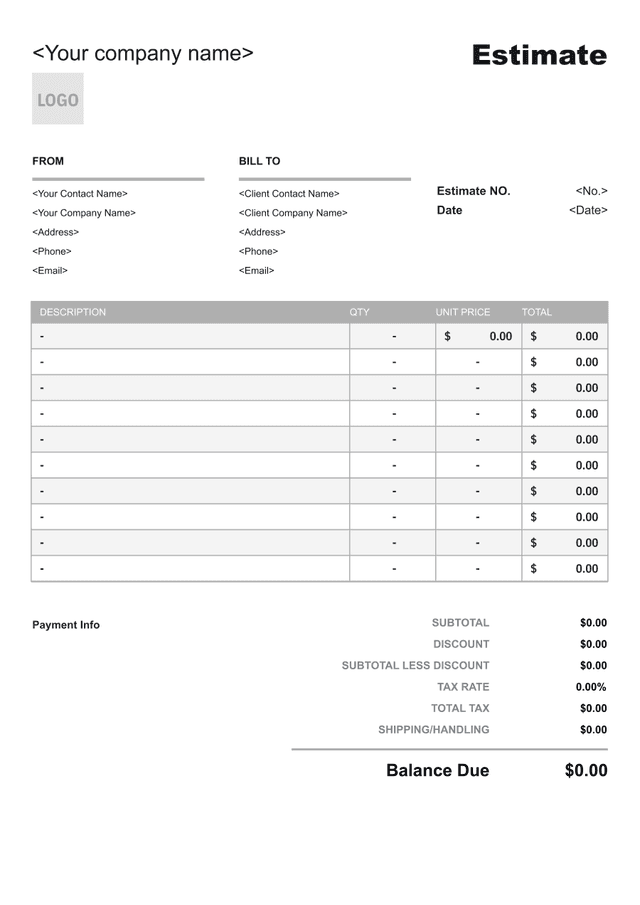


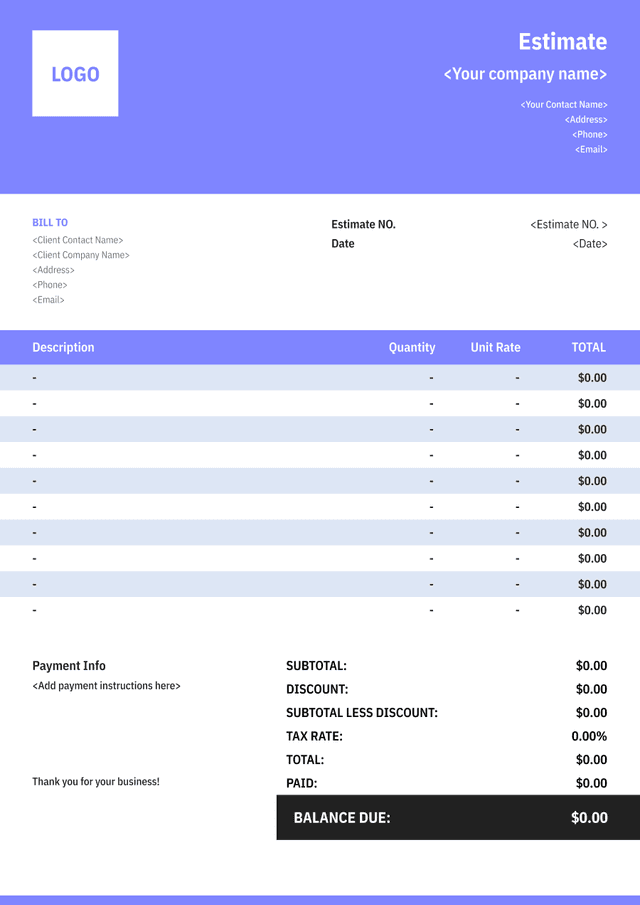
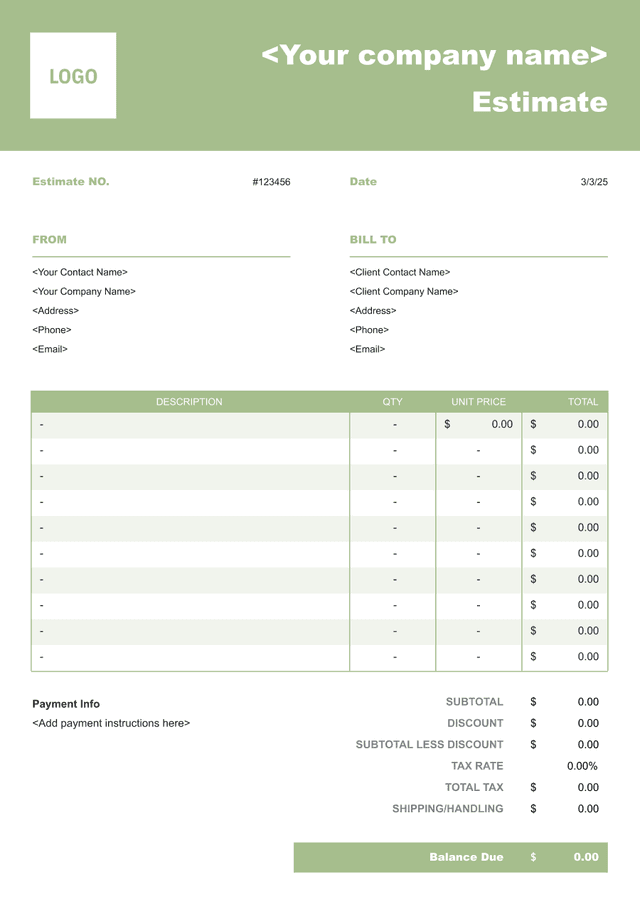
What Is a Roofing Estimate?
A roofing estimate is what a property owner receives after a roof inspection: a price for the job as the roof was understood on the day, before the old covering is stripped and before the deck is visible. It starts from the roof area and pitch, the number of existing layers, the linear feet of flashing, valleys, ridges, and penetrations measured on site, and adds labor hours and crew rates, the roof system and underlayment, tear-off and disposal, flashing and ventilation, plus the overhead and margin your company carries.
What an inspection from the surface or the eave can confirm is limited. The existing shingle or membrane, the flashing condition at chimneys and valleys, and the visible sag in a rafter line are all observable, but the deck underneath — rotted plywood, delaminated OSB, or a leak that has traveled a rafter away from the entry point — is not. A first number prices only the roof as it stood on the inspection date.
Owners use it to decide whether to repair or replace, which roof system to select, and how much to set aside, so the estimate belongs next to the contract and the work order rather than on its own. Its value comes from separating the priced scope — the roof system, the tear-off, the flashing — from the conditions that depend on stripping the old layers.
- 01
What the number represents
It prices the roof system for the area and slope measured on the inspection day: the shingle, metal panel, or membrane specified, the layers to be torn off, the underlayment and flashing scope, and the ventilation. It is not the final figure if the deck is damaged or the flashing is worse than visible, and a document that reads as a firm bid rather than an estimate is the one that gets argued over when tear-off exposes the truth.
- 02
How much detail it carries
An eave-level inspection and a post-tear-off assessment produce different documents. Off the first, square footage by roof plane, a layer count, and a system allowance for an unselected shingle grade are appropriate; once the deck is bare, each plane should carry its own sheathing repair, underlayment type, and flashing detail. The detail should match how much of the roof has actually been opened up.
- 03
Why the total moves
A deck that needs more plywood replacement than the surface suggested, an ice-dam barrier that code requires on a heated eave, a flashing detail at a chimney that needs full step and counter-flashing rather than a re-seal, and a venting upgrade that the old roof lacked all move it. Carry each as a line with the quantity and unit cost it covers, so the owner sees what they are approving instead of meeting it later as a surprise charge.
What to Include in a Roofing Estimate
The estimate has to identify the job well enough that your office and the owner never confuse it with another: the property, the roof planes priced, the slope, and the date the roof was inspected. Then each priced element should trace to a measurement taken, a layer count observed, a roof system specified, or a code requirement carried.

- 01
Business and client details
Your company name, licence number, address, phone, and email, then the owner's name, the property where the work happens, and the billing address if the two differ. Where the job is storm- or insurance-funded, add the insurer, claim number, and adjuster, and note who authorized the inspection.
- 02
Estimate number, dates, and validity
Run estimates on their own number series rather than the invoice series, and show the date issued alongside the date the roof was inspected. Set an expiry and say what happens after it, because shingle and metal pricing does not hold indefinitely and a tear-off slot booked for dry weather can slip with the season.
- 03
Scope of work with inclusions and exclusions
Describe the job plane by plane or elevation by elevation, and say what each part includes; then list what it leaves out — gutters and downspouts, skylight replacement, interior drywall repair from an active leak, work by other trades, and the deck damage that only tear-off will expose. Note what the scope rested on, such as the roof area measured and the existing layer count, and where the inspection stopped, such as a low-slope section not walked or an attic not entered. Silence reads as inclusion.
- 04
Tear-off, deck repair, and disposal
Price the removal first: the number of existing layers to strip, whether it is a full tear-off or a roof-over, dumpster and hauling by the load or the yard, and deck inspection once the old covering is off. Carry plywood and OSB replacement as a per-sheet unit cost with an assumed quantity, because rotted or delaminated sheathing is the most common finding that moves the total and the one the owner will not see until the crew is on the roof.
- 05
Roof system, underlayment, flashing, and ventilation
Specify the roof system per plane: architectural or designer shingles, standing seam or exposed-fastener metal, TPO or EPDM for low-slope, or modified bitumen for a built-up section. Name the underlayment — synthetic versus felt, self-adhering ice-and-water membrane at eaves and valleys — the flashing scope at chimneys, walls, skylights, and penetrations, the ridge vent or box vents, and the drip edge and starter shingle, each priced by the square, the linear foot, or the each.
- 06
Totals, payment terms, warranty, and acceptance
Finish with subtotals by plane or roof area, contingency on its own line rather than buried in the rates, permit and disposal fees, tax where it applies, and the total. Under that, the terms: payments tied to completed and inspected stages — tear-off and deck accepted, underlayment and flashing installed, roof system applied — how a change order is raised and priced, who pulls the permit, how the workmanship warranty differs from the manufacturer warranty on the roof system, and a signature block with printed name, date, and the version accepted.
Reuse Saved Information in Invoice Zip
Use saved items and client information to create a roofing estimate in just a few taps.
How to Break Down a Roofing Estimate
Four passes turn a roof inspection into a price: confirm which planes are in the job, measure them, price them against your rates and suppliers, and check the result before the owner sees it.
Confirm the scope
Climb the roof or walk the eave and record what you are actually pricing: which planes, what the existing layers are, what the owner expects to be included, and what you could not see. Note the slope and access constraints, the existing system and its condition, and the permit and inspection steps the job will need, so none of it turns up later as an unpriced surprise.
Measure the work
Measure every plane yourself rather than pricing from the owner's dimensions or a satellite image, and account for pitch when converting footprint to roof area. Price each element in its natural unit: squares for shingle and membrane, linear feet for ridge, valley, flashing, and drip edge, each for vents and penetrations, sheets for plywood replacement. Where the deck repair cannot be known until tear-off, carry an allowance with the per-sheet rate and assumed quantity.
Apply resources and rates
Put labor hours and crew rates on each scope separately from its roof system, so a shingle or metal grade change can be repriced without reopening the labor. Add the roof system, underlayment, and ice-and-water membrane at current supplier pricing, flashing and ventilation by the linear foot or the each, dumpster and disposal by the load, fall protection and equipment such as a boom lift, and the overhead and margin your company carries.
Review and issue
Read it back the way the owner will: every plane priced, every flashing detail named, every exclusion written down. Confirm the measurements, the layer count, the total, and the validity period, then issue it and say what follows: a signed contract and work order once the scope is agreed, with a numbered change order for anything that shifts after that.
Common Roofing Estimate Line Items
- 01
Tear-off and deck preparation
Layer removal, deck inspection, rotted plywood and OSB replacement, fastener check, and clean-down before underlayment.
Typical units: squares, sheets, hours, loads
- 02
Underlayment and ice-and-water shield
Synthetic or felt underlayment, self-adhering ice-and-water membrane at eaves, valleys, and penetrations, and starter shingle at the eave.
Typical units: squares, linear feet, rolls
- 03
Roof system and flashing
Architectural or designer shingles, standing-seam or exposed-fastener metal, TPO, EPDM, or modified bitumen, with step, counter, and apron flashing at chimneys, walls, and skylights.
Typical units: squares, linear feet, each
- 04
Ridge, ventilation, and penetrations
Ridge vent and cap shingles, box or turbine vents, pipe boots, plumbing and HVAC penetrations, and skylight curbs and flashing kits.
Typical units: linear feet, each, kits
- 05
Disposal, protection, and safety
Dumpster rental and hauling, ground protection, magnetic nail sweep, fall protection, scaffolding or boom lift, and site cleanup.
Typical units: loads, days, hours, each
- 06
Inspection, closeout, and warranty
Final inspection, permit closeout, manufacturer warranty registration, leftover material return, and closeout documents.
Typical units: permits, flat fees, hours, each
Key Considerations for Roofing Estimates
- 01
Account for slope, layers, and deck condition
Steep-slope roofs above a certain pitch slow the crew and may require toe boards, harness anchors, or a boom lift, and those add labor hours per square. Count the existing layers before pricing the tear-off, because removing two layers of shingles plus an old shake beneath costs more than one, and the dumpster fills faster. Carry deck repair as a per-sheet allowance on every estimate, because rotted plywood and delaminated OSB are the single most common finding that moves the total once the old covering is stripped.
- 02
Specify the roof system and code-required barriers
Name the roof system by product and grade — architectural or designer shingle, standing-seam panel profile and gauge, TPO membrane thickness, EPDM or modified bitumen — and specify the underlayment type. Ice-and-water membrane is required by code on heated eaves in cold-climate jurisdictions and along valleys and penetrations, and skipping it to cut the number is how a roof fails at the first ice dam. State whether the drip edge, starter shingle, and ridge vent meet the manufacturer's warranty requirements, because a system installed without the required components can void the material warranty.
- 03
Carry flashing and ventilation scope explicitly
Flashing is where most residential leaks originate, and it is the scope most often underpriced on a first estimate. Carry step and counter-flashing at chimneys, apron and kick-out flashing at wall intersections, valley flashing, and pipe boots as separate lines by the linear foot or the each, and state whether existing metal is being reused or replaced. Ridge vent and intake vent balance matters: a roof with exhaust but no intake ventilation will trap moisture and shorten the shingle life, so the estimate should note whether the attic ventilation meets the manufacturer's requirements.
- 04
Plan for weather, safety, and permit closeout
A tear-off leaves the deck exposed, and the estimate should state how much roof can be stripped in a day and what happens if rain arrives before the underlayment is on — whether the crew tarps, leaves synthetic underlayment in place overnight, or schedules the tear-off in sections. Fall protection is required on roofs above a certain height and slope, and the cost of harness anchors, scaffolding, or a boom lift should be on its own line. Confirm who pulls the permit and who schedules the inspection, because an open permit on a finished roof will hold up the warranty registration and, in some jurisdictions, the occupancy.
Roofing Estimate, Quote, or Invoice?
Estimate
Projected cost
- Purpose
- Price the roof system for the planes measured at inspection, using your own roof area, today's material pricing, and the tear-off and deck conditions observed.
- When used
- After a roof inspection, before the roof system is selected, tear-off scope is confirmed, or the schedule is booked.
- Next document
- Move to a signed contract and a start date once the scope is agreed, with a written change order for rotted decking or extra layers found after tear-off.
Quote
Defined offer
- Purpose
- Offer one price for the scope as written, including the roof system, underlayment, flashing, and completion date the owner has agreed to.
- When used
- When the roof system is selected, tear-off layers are confirmed, and scope, materials, and schedule are understood on both sides.
- Next document
- Keep the signed proposal with the job file, and record later change orders, material substitutions, and weather delays against it.
Invoice
Payment request
- Purpose
- Ask for what the contract allows at that point: a material deposit, a stage payment after tear-off and deck repair, the balance on completion, or an approved change order.
- When used
- When a stage is finished and inspected — tear-off and deck accepted, underlayment and flashing installed, roof system applied, final walkthrough.
- Next document
- Apply the deposit and any insurer payment already received, then show the balance due from the owner once the final inspection passes.
Roofing Estimate FAQs
Does the estimate need to include a full tear-off, or can new shingles go over the old ones?
It depends on the existing layers and deck condition. A roof-over is allowed only if there is a single existing layer of flat, sound shingles and no deck damage, and it is not permitted on low-slope roofs or where the old shingles are curled. A roof-over saves tear-off cost but shortens the new shingle life and hides deck damage — only a tear-off lets the crew inspect the plywood.
What happens if the crew finds rotted plywood during tear-off?
It is the most common finding that moves the total. A prepared estimate carries it as an allowance with a per-sheet replacement rate and an assumed quantity. When the actual quantity exceeds the allowance, the contractor should photograph the rotted area and issue a numbered change order before the underlayment goes on — covering rotted deck leads to a sagging roof and a leak.
Is storm damage to the roof covered separately from the estimate?
If the damage is from a named storm, wind, or hail, the scope and payment usually run through the owner's insurer. The estimate should reference the claim and adjuster, and be written to match what the roof actually needs, not what the insurer initially allowed — the difference is what the supplement process resolves. Carry any upgrade the owner selects as a separate line.
What does the roofing warranty actually cover?
Two warranties run on every roof. The manufacturer warranty covers the shingle, membrane, or metal panel against defects; the workmanship warranty covers the installation — tear-off, underlayment, flashing, and seal. The estimate should name the manufacturer warranty term, whether it is prorated, what the workmanship warranty covers and for how long, and what falls outside both: storm damage, foot traffic, and modifications after handover.
Other Free Resources


Try Invoice Zip Today
Start Sending Invoices, Building Reports, Saving Office
Time and Get Paid Faster.