

How to Invoice for Progress Payments
5min read
|
Aug 25, 2026
Long projects often mean delayed payments, and delayed payments can seriously strain small business cash flow. Whether you're a contractor, web developer or marketing consultant, relying solely on a final invoice often means covering project costs out of pocket for weeks or even months. Progress payments solve this by letting you bill clients for completed project stages, but only when your progress invoices are clear, consistent and easy to track.

Many business owners avoid progress billing because manual progress invoicing feels complicated. Miscalculated balances, missing milestone records and lost approval documents turn incremental billing into more trouble than it's worth.
Today, we'll walk through progress invoicing end-to-end: core definitions, pre-project planning, importance and a complete workflow to create, send and track progress invoices easily.
What Is Progress Payment and Who Needs Progress Invoicing
What is progress payment
A progress payment is a method of paying for goods, services, or construction in installments. According to Public Services and Procurement Canada’s progress payment guidelines, progress payments are made based on completed work or services during a contract rather than waiting until final completion.Instead of paying the entire sum upfront or upon completion, the buyer makes smaller payments in stages as the work or building hits pre-defined milestones. Unlike a final lump-sum invoice issued at project completion, a progress invoice records work completed to date, previous payments received, and the remaining balance due.

The dual benefits of progress billing
For your business:
- Stabilize cash flow: Avoid covering all labor, material and operational costs out of pocket for months.
- Reduce financial risk: Split large project revenue into smaller regular payments to cut bad debt risks.
- Clear audit trail: Separate stage-by-stage records simplify tax filing, bookkeeping and client reconciliation.
For your clients:
- Full transparency into project progress and exactly what each payment covers.
- No huge one-time upfront expense. They only pay for verified completed deliverables.
- Better budgeting and financial planning.
Who needs progress invoicing?
This billing method is most effective for long-term projects where work is delivered in clearly defined phases.
- Construction, renovation and general contractors
- Web developers, graphic designers, video production studios
- Long-term marketing, consulting and agency retainer clients
- Custom manufacturing and large-scale freelance projects
Why Standard Progress Invoices Prevent Payment Disputes
Payment conflicts almost always come from vague, unstructured progress billing. Without formal written documentation, resolving disagreements takes valuable time and delays your income.
A fully standardized progress invoice marks completed phases, tracks progress payments, and lays out all financial terms upfront. Standardized progress invoices help prevent disputes by clearly documenting completed work, previous payments, and outstanding balances.
- They document exactly what milestone work you've completed for client confirmation.
- They clearly state total project value, previously paid sums, and outstanding balances to eliminate math confusion.
- You can list retainage, tax fees and late payment terms visibly on each bill.
- Numbered, consistent invoices serve as official records if conflicts emerge later.
Pre-Work Before Sending Progress Invoices
Successful progress billing starts long before the first invoice is issued. Skip these steps, and you risk payment disputes and messy bookkeeping later.
- Put progress payment rules in signed contracts. Clearly document milestone amounts, retainage requirements, and late-payment penalties
- Keep written client sign-off for every completed phase. Save approval records as proof of accepted deliverables.
- File a detailed master project estimate. Use it to accurately compute partial payments and outstanding balances.
With these three pre-work steps completed, your progress invoicing process will run transparent and predictable from start to finish.
How to Create Progress Invoices
Once your contract, milestones, and client approvals are in place, creating a progress invoice becomes a straightforward process. The goal is to provide clients with a clear snapshot of project progress, previous payments, and the amount currently due.
Step 1: Reference the Original Project Agreement
Every progress invoice should link back to the original contract, estimate, or proposal. This ensures both parties are working from the same project scope and pricing structure.
Include:
- Project name or reference number
- Total contract value
- Agreed payment schedule
- Milestone being billed
This information immediately gives context to the invoice and reduces misunderstandings about what is being charged.
Step 2: Document Completed Work
Clearly describe the portion of work completed during the billing period.
Examples include:
- Foundation and framing completed
- Website wireframes approved
- Month three marketing campaign delivered
- First production batch completed
The more specific your milestone descriptions are, the easier it is for clients to verify and approve payment.
Step 3: Show Previous Payments
One of the most important elements of a progress invoice is transparency. Showing cumulative totals helps clients understand exactly how much has been paid and what remains outstanding.
Include:
- Total contract value
- Amount invoiced previously
- Payments received to date
- Current amount due
- Remaining project balance
Step 4: Include Taxes, Retainage, and Additional Charges
Depending on your industry, you may need to include:
- Sales tax or VAT
- Retainage amounts
- Approved change orders
- Material costs
- Additional project expenses
Keeping these items separate makes your invoices easier to audit, reconcile and report accurately.
Step 5: Set Clear Payment Terms
Each invoice should clearly state:
- Payment due date
- Accepted payment methods
- Late payment penalties (if applicable)
- Contact information for billing questions
Never assume clients will remember the terms outlined in the original contract.
Step 6: Track Invoice Status
After sending the invoice, monitor its status carefully. Depending on your invoicing system, statuses may include:
- Sent
- Viewed
- Approved
- Paid
- Overdue
Consistent tracking helps you follow up quickly and maintain healthy cash flow throughout the project lifecycle.
Helpful Tools
While progress invoicing can be managed manually using spreadsheets and documents, many businesses eventually struggle with version control, payment tracking, and balance calculations across multiple project phases.
Using dedicated invoicing software can significantly reduce administrative work. For example, tools such as InvoiceZip can help businesses to create professional invoices, track payment status, organize client records, and maintain a centralized billing workflow. Instead of manually calculating cumulative balances for every milestone, businesses can keep all project invoices and payment history in one place, reducing the risk of errors and missed payments.
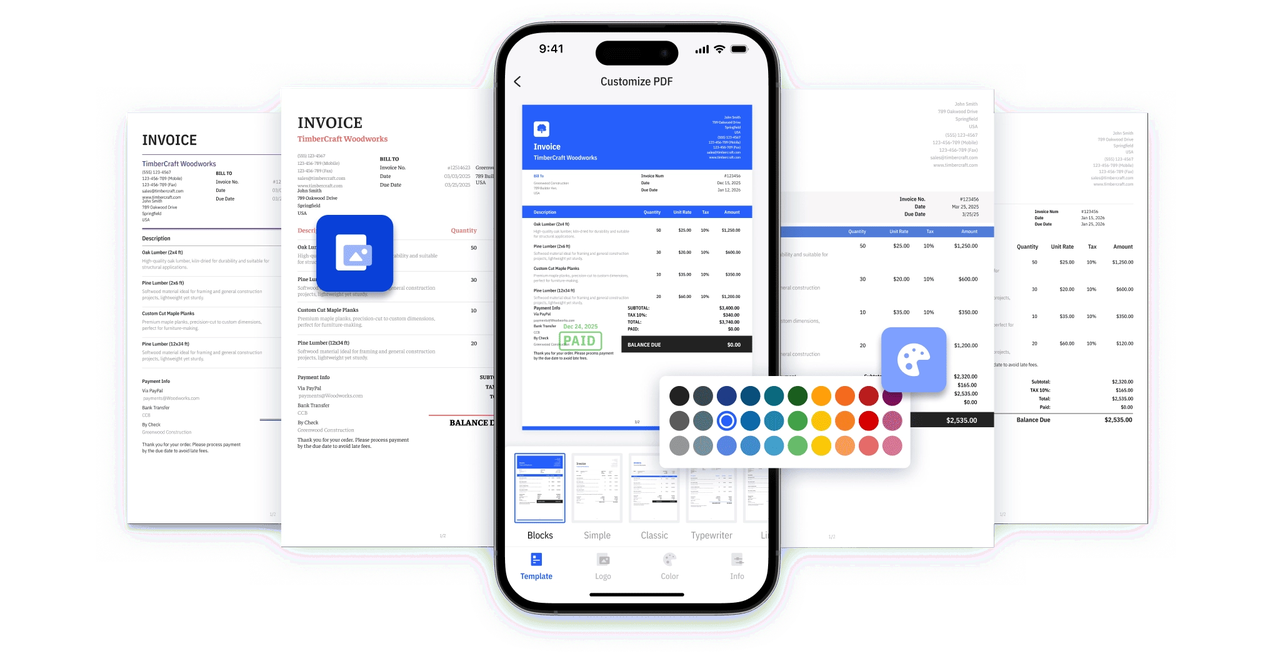
For growing agencies, contractors, freelancers, and service businesses handling multiple projects simultaneously, automated invoice management can save considerable time and improve billing accuracy.
Conclusion
A structured progress billing process helps businesses align payments with project milestones instead of waiting until completion. When managed properly, progress invoicing improves cash flow, simplifies payment tracking, and builds stronger client trust.
Most Popular Pages


Try Invoice Zip Today
Start Sending Invoices, Building Reports, Saving Office
Time and Get Paid Faster.