


Free Contractor Estimate Template
Prepare a contractor estimate that prices the work you saw at the walkthrough, ties each line to a crew, a material list, or a subcontractor number, and shows where opening up the work may change the total. Give the homeowner and any insurer or lender a reviewable basis before a deposit, a signed contract, or a change order is requested.
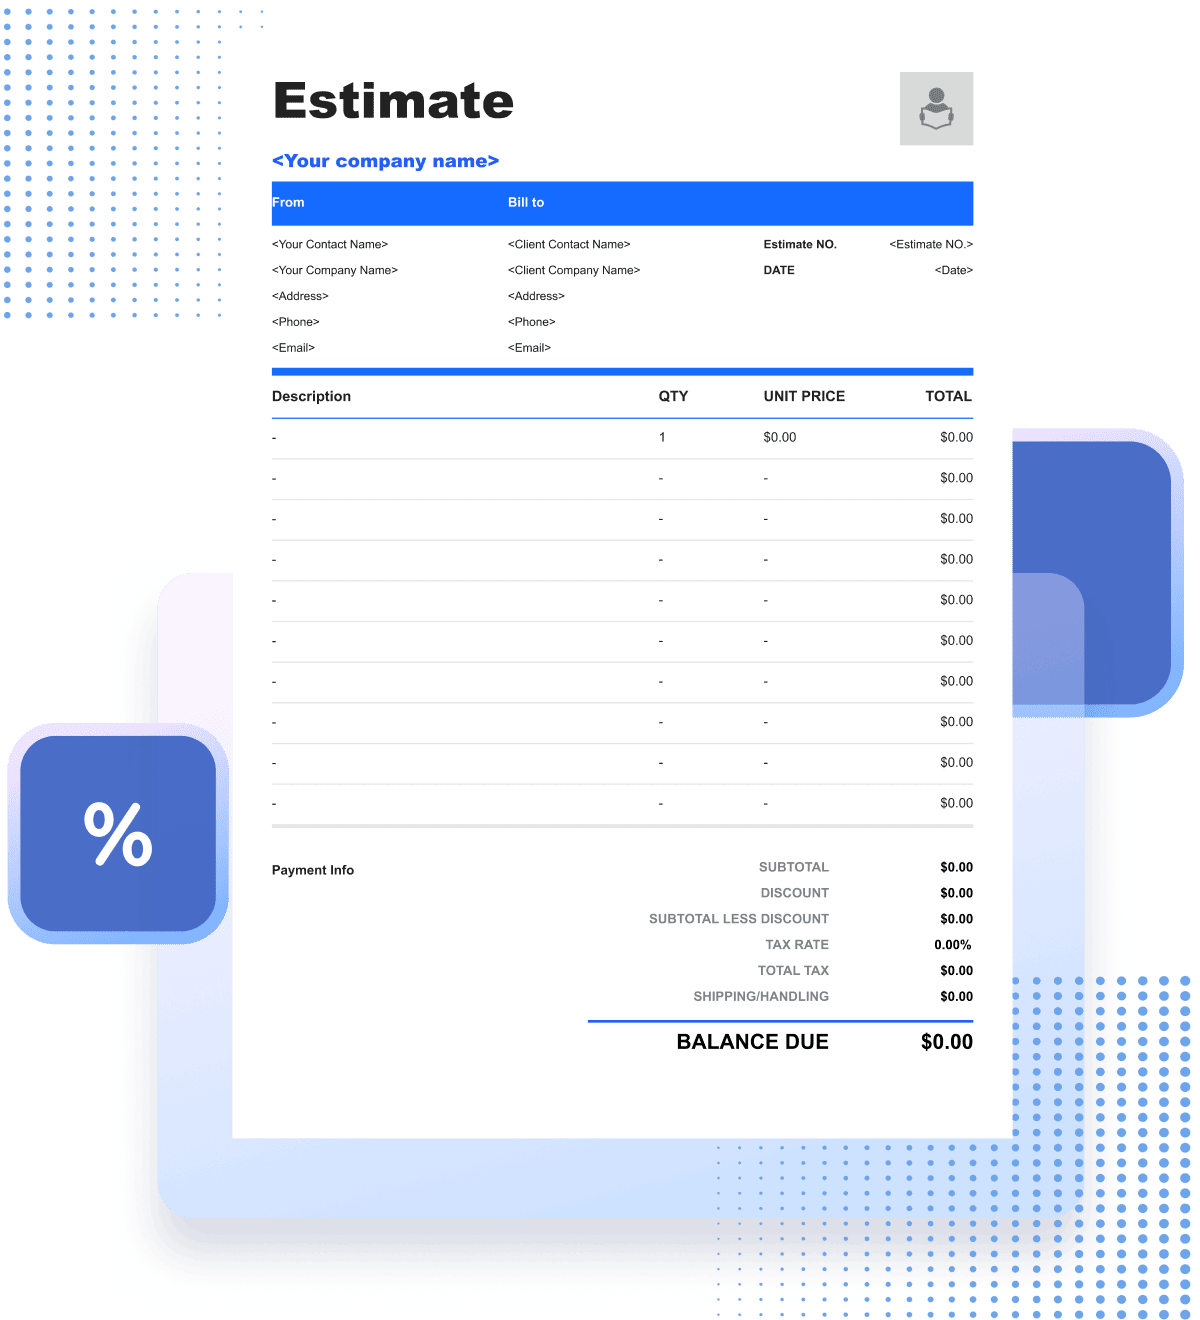
Contractor Estimate Template
Keep the job under one estimate number from the walkthrough to the final invoice: the property, the measurements taken, the materials and selections, the permits and inspections, the subcontractor numbers carried, and the schedule.
Home remodeling costs move as the work is opened up and the selections are made. Itemizing each scope with its labor and its materials means a change can be priced on its own, and gives your office the same basis for the change order, the progress billing, and the final invoice.
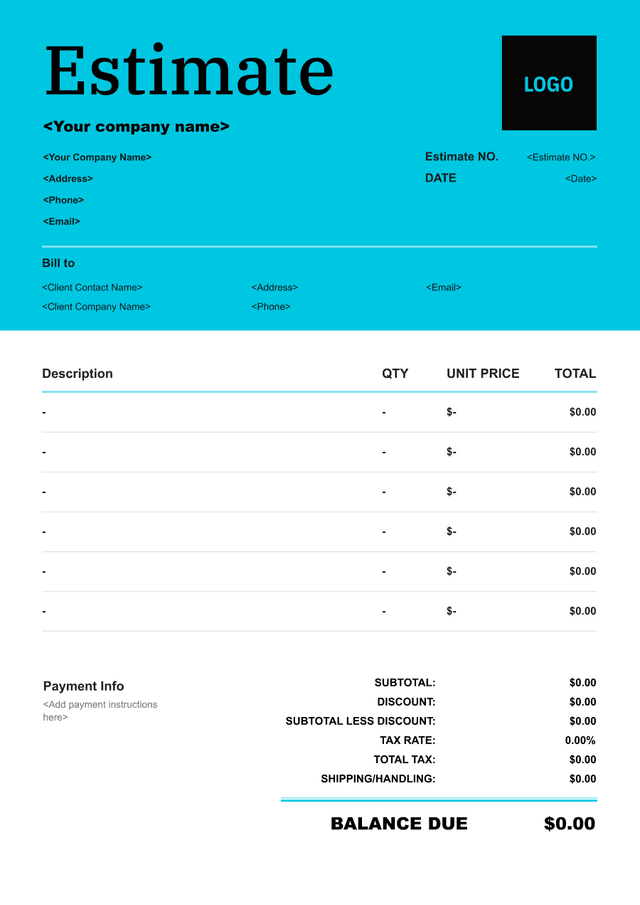


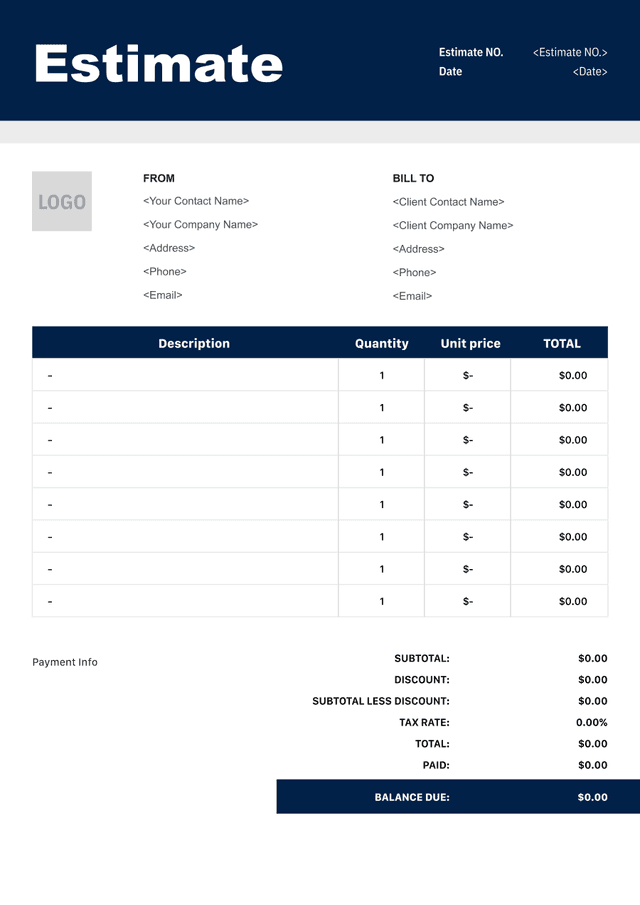
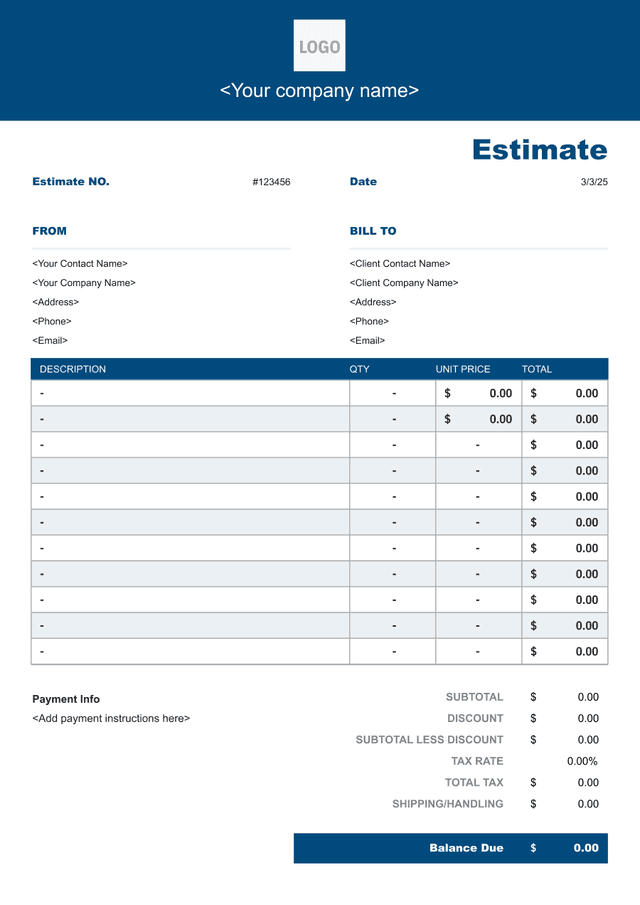
What Is a Contractor Estimate?
A contractor estimate is what a homeowner receives after a walkthrough: a price for the job as it was understood on the day, before selections are made and before anything is opened up. It starts from the measurements taken on site and adds labor hours and crew rates, materials and fixtures, subcontractor pricing, permits and disposal, plus the overhead and margin your company carries.
What a walkthrough can see is limited — surfaces, dimensions, and whatever the homeowner reports. What sits behind a tiled wall, under a floor covering, or inside an older electrical panel usually decides the final number, and none of it is visible on a first visit.
Homeowners read it to decide whether to go ahead, what to select, and how much to set aside, so it belongs next to the contract and the work order rather than floating on its own. Its job is to make the boundary between priced and not-yet-priced obvious while both sides are still friendly.
- 01
What the number represents
It prices the job as described on the day of the visit: the rooms measured, the conditions observed, the materials chosen or still to be chosen. It is not the final figure if the scope changes, and it is not a bill — writing that plainly on the page prevents most of the arguments that surface at invoice time.
- 02
How much detail it carries
Two visits produce two different documents. Off a walkthrough, unit pricing per square foot and allowances for selections not yet made are appropriate; once demolition exposes the conditions, each scope should carry its materials, labor hours, and rate. The detail should match how much of the job has actually been seen.
- 03
Why the total moves
A selection that costs more than its allowance, a condition behind an existing finish, a permit requirement that adds an inspection, and a special-order lead time all move it. Write each as an allowance with the quantity and unit cost it covers, so the homeowner sees what they are approving instead of meeting it later as a surprise line.
What to Include in a Contractor Estimate
The estimate has to identify the job well enough that your office and the homeowner never confuse it with another: the property, the rooms or scopes covered, and the date it was walked. Then each priced scope should trace to a measurement taken, a material selected or allowed, a permit step, or a subcontractor number carried.

- 01
Business and client details
Your company name, licence number, address, phone, and email, then the homeowner's name, the property where the work happens, and the billing address if the two differ. Where the job is claim-funded, add the insurer and claim number, and note who approved the walkthrough.
- 02
Estimate number, dates, and validity
Run estimates on their own number series rather than the invoice series, and show the date issued alongside the date the property was walked. Set an expiry and say what happens after it, because supplier pricing and subcontractor bids do not stay open indefinitely.
- 03
Scope of work with inclusions and exclusions
Describe the job room by room, or scope by scope, and say what each part includes; then list what it leaves out — appliances, work by other trades, owner-supplied items, and the conditions behind existing finishes that only demolition will expose. Note what the scope rested on, such as the areas measured and the photographs taken, and where the inspection stopped, such as an attic or crawlspace not accessed. Silence reads as inclusion.
- 04
Demolition, protection, and job setup
Tear-out and hauling, floor and dust protection, containment, disposal, site setup, and daily cleanup belong here, each on its stated basis, such as a per-room or per-day rate, a disposal load count, or a flat setup amount credited against the job. Keep them apart from the scope work they support.
- 05
Labor, materials, subcontractors, and allowances
Price each scope with its labor hours and crew rate and its material list with grade and quantity, from framing and drywall through electrical, plumbing, flooring, tile, cabinetry, and paint. Carry the subcontractor scopes with their bids, mark which selections are firm and which are still allowances with the quantity and unit cost each covers, and add permit fees and the inspections required.
- 06
Totals, payment terms, warranty, and acceptance
Finish with subtotals by scope, contingency on its own line rather than buried in the rates, permit and disposal fees, tax where it applies, and the total. Under that, the terms: payments tied to completed and inspected stages rather than to calendar dates, how a change order is raised and priced, who pulls the permit, how the workmanship warranty differs from the manufacturer warranty on materials, and a signature block with printed name, date, and the version accepted.
Reuse Saved Information in Invoice Zip
Use saved items and client information to create a contractor estimate in just a few taps.
How to Break Down a Contractor Estimate
Four passes turn a walkthrough into a price: confirm what is in the job, measure it, price it against your rates and suppliers, and check it before the homeowner sees it.
Confirm the scope
Walk the property and write down what you are actually pricing: which rooms or scopes, what the homeowner expects to be included, and what you could not see. Note the conditions behind existing finishes, the selections still open, and the permit and inspection steps the job will need, so none of it turns up later as an unpriced surprise.
Measure the work
Measure every area yourself rather than pricing from the homeowner's dimensions, and price each scope in the unit that fits it: square feet for flooring and drywall, linear feet for trim and framing, each for fixtures, hours for demolition and patching. Where the quantity cannot be known until demolition exposes the conditions, carry an allowance with the quantity and unit cost it covers.
Apply resources and rates
Put labor hours and crew rates on each scope separately from its material list, so a grade or selection change can be repriced without reopening the labor. Add materials by grade and quantity at current supplier pricing, subcontractor bids for the licensed trades, permit fees, disposal, and the overhead and margin your company carries.
Review and issue
Read it back the way the homeowner will: every room priced, every allowance named, every exclusion written down. Confirm the measurements, the total, and the validity period, then issue it and say what follows: a signed contract and work order once the scope is agreed, with a numbered change order for anything that changes after that.
Common Contractor Estimate Line Items
- 01
Demolition and job setup
Tear-out, hauling, disposal, floor and dust protection, containment, site setup, and daily cleanup.
Typical units: hours, loads, each, per room
- 02
Rough trades and structure
Framing, structural repair, subfloor, insulation, rough electrical, rough plumbing, and HVAC work.
Typical units: hours, linear feet, square feet, each
- 03
Materials and installed products
Drywall, doors and windows, flooring, tile, cabinetry, countertops, paint, and installed fixtures and finishes.
Typical units: square feet, each, allowances
- 04
Subcontracted scopes
Electrical, plumbing, HVAC, roofing, glass, and countertop fabrication carried as licensed trade bids.
Typical units: sublet bids, flat fees, hours
- 05
Permits, inspections, and disposal
Permit application and fees, required inspections, hauling, utility charges, and disposal of removed materials.
Typical units: permits, flat fees, loads
- 06
Punch list, cleanup, and warranty
Final punch list, touch-up, final cleanup, homeowner walkthrough, warranty registration, and closeout documents.
Typical units: hours, flat fees, each
Key Considerations for Contractor Estimates
- 01
Confirm measurements and existing conditions
Measure each area of work yourself rather than pricing from the homeowner's dimensions, and note what you could not see at the walkthrough. State whether quantities come from your measurements, from a supplier takeoff, or from a plan, and keep anything that depends on opening walls or floors as an allowance rather than a fixed number, with the change order documented and authorized before work continues.
- 02
Price labor hours and crew productivity
Separate labor hours from materials on every line so a grade or selection change can be priced without reopening the labor. State the crew size, the working days assumed, and access or occupancy constraints such as a household living on site, plus the protection and cleanup time those constraints add.
- 03
Validate material selections and lead times
Confirm each selected item by model and finish with the supplier, and mark which selections are still open and carried as allowances. Note lead times, discontinued or special-order items, delivery, and restocking, because a single backordered item usually holds the job longer than the field labor does.
- 04
Control allowances, permits, and changes
List each allowance by name with the quantity and unit cost it covers, and state who carries the overrun when the actual selection costs more. Confirm which permits and inspections are included and who pulls them, record who approved each change and its cost, and state its effect on the completion date.
Contractor Estimate, Quote, or Invoice?
Estimate
Projected cost
- Purpose
- Price the work as described at the walkthrough, using your own measurements, today's material pricing, and the subcontractor figures you are carrying.
- When used
- After a site visit, before selections are finalized, permits are pulled, or the schedule is booked.
- Next document
- Become a signed contract and work order once the scope is agreed, with a numbered change order for anything that shifts after that.
Quote
Defined offer
- Purpose
- Offer one price for the scope as written, including the materials and allowances agreed with the homeowner and the completion date.
- When used
- When selections are made, permits are clear, and scope, materials, and schedule are understood on both sides.
- Next document
- Keep the signed proposal with the job file, and record later selections, change orders, and delays to materials or inspections against it.
Invoice
Payment request
- Purpose
- Ask for what the contract allows at that point: a deposit, a stage payment, the balance on completion, or an approved change order.
- When used
- When a stage is finished and inspected — contract signing, rough-in, substantial completion, or final walkthrough.
- Next document
- Record the payment, credit the deposit already held, and show the balance the homeowner owes.
Contractor Estimate FAQs
How much should a contractor ask for as a deposit?
Enough to cover what has to be bought before the crew arrives — custom and special-order items such as cabinets, windows, and tile. A large cash deposit before any material is on site is a warning sign and, in some states, a legal limit. Tie every remaining payment to completed and inspected stages, not calendar dates.
Does the estimate include permits, and who pulls them?
Permit fees should appear as their own line, and the estimate should name who applies, who pays, who meets the inspector, and who carries the cost of rework if an inspection fails. If the homeowner wants to pull the permit themselves, note that inspection responsibility and liability may shift onto them.
What happens if the homeowner supplies their own materials?
Show owner-supplied items on their own lines at zero material cost with labor priced as normal, so the total still reads as the full job. State who handles delivery, storage, damage, and shortage, and note that the manufacturer warranty belongs to the homeowner while the installation warranty stays with the contractor.
What warranty should the estimate spell out?
Two different things. A workmanship warranty covers the installation and typically runs about a year; a manufacturer warranty covers the product on the maker's terms. The estimate should name the length, start date, what each covers, and how a claim is made — a warranty described only as 'one year' is a common source of conflict.
Other Free Resources

Try Invoice Zip Today
Start Sending Invoices, Building Reports, Saving Office
Time and Get Paid Faster.